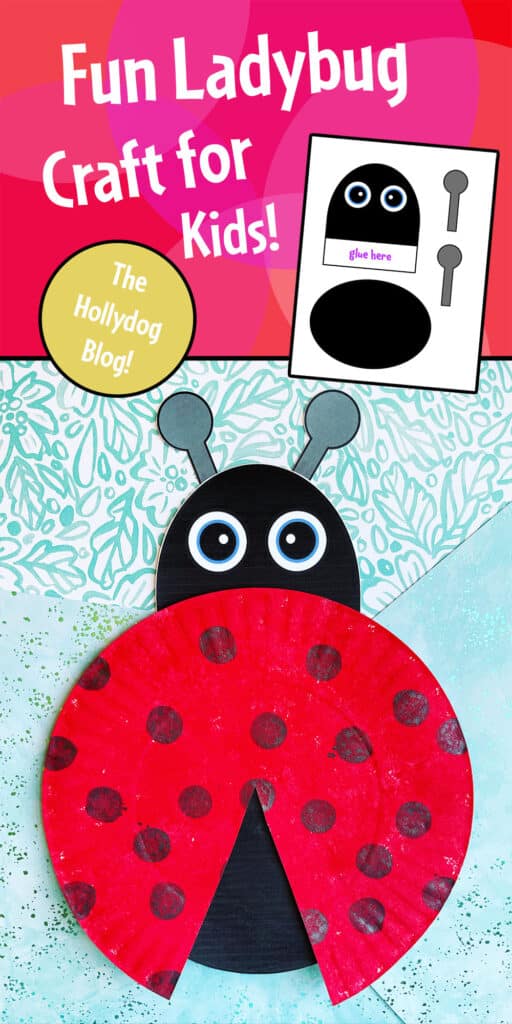
Step 4: This is the fun part! Grab a black Dot Dot marker and put dots onto your ladybug’s wings! You can use black circle stickers as an alternative if your aim is to build pincher strength. The peel and stick motion is great for building the strength of the thumb and forefinger. red paint/sponge/black Dot Dot marker
Fun Ladybug Craft for Preschool!
Step 1: Gather your ladybug craft supplies. Print your ladybug cutouts in color or in black & white onto cardstock paper. Use scissors to cut out your pieces! Be sure to check out the Bee Craft for another fun bug activity! Step 2: Next, paint your paper plate red! I decided to sponge paint, but you can also use markers, crayons, or watercolors to keep things less messy. This step can be as simple as you like. Step 3: Next, cut a small triangle at the bottom of your paper plate. This will give your ladybug wings! Use a glue stick to glue your cutouts to the paper plate.
Show Off Your Ladybug!
You ladybug is ready for its closeup! Be sure to hang your ladybug somewhere that needs a bit of cheer! Don’t forget to give your ladybug a name! Be sure to check out the Butterfly Craft for another great spring activity! We hope you enjoyed this Fun Ladybug Craft for Preschool! Head to Spring Crafts to see some great activities to celebrate the changing season. Check out our entire Printable Craft Library to find just the craft you need.
Click below to print your Free Ladybug Craft Cutouts!